Oops I did it again: totally underestimating a mountain. This time, it’s in Norway – Bergen’s Mt Ulriken.
At gloriously 643m tall, Mt Ulriken is the highest mountain among the seven that surround Bergen. In addition, I decided to hike it in fashion boots, not hiking boots, not sneakers. A round of applause for myself first.
| Also read: my hiking disaster up Bali’s famous volcano: Mt Batur |

Do you know, it rains more than 2/3 of the year in Bergen? Bergen is known as the “Rainiest City in Europe”! Very fortunately for us, it was sunny weather that day. My friends and I manifested the idea of taking the cable-car up to Mt Ulriken, then hike downwards. We were sure it was gonna be a leisurely last day we’ll have in Bergen. So wrong we were, because..
Mt Ulriken showed us that hiking downwards is not always a piece of cake!
After a long breakfast and a nap/read/yoga (yes, very leisurely!) at Zander K Hotel, we got ready to leave. I put on my boots, happily thinking I might get some nice photos in these boots.
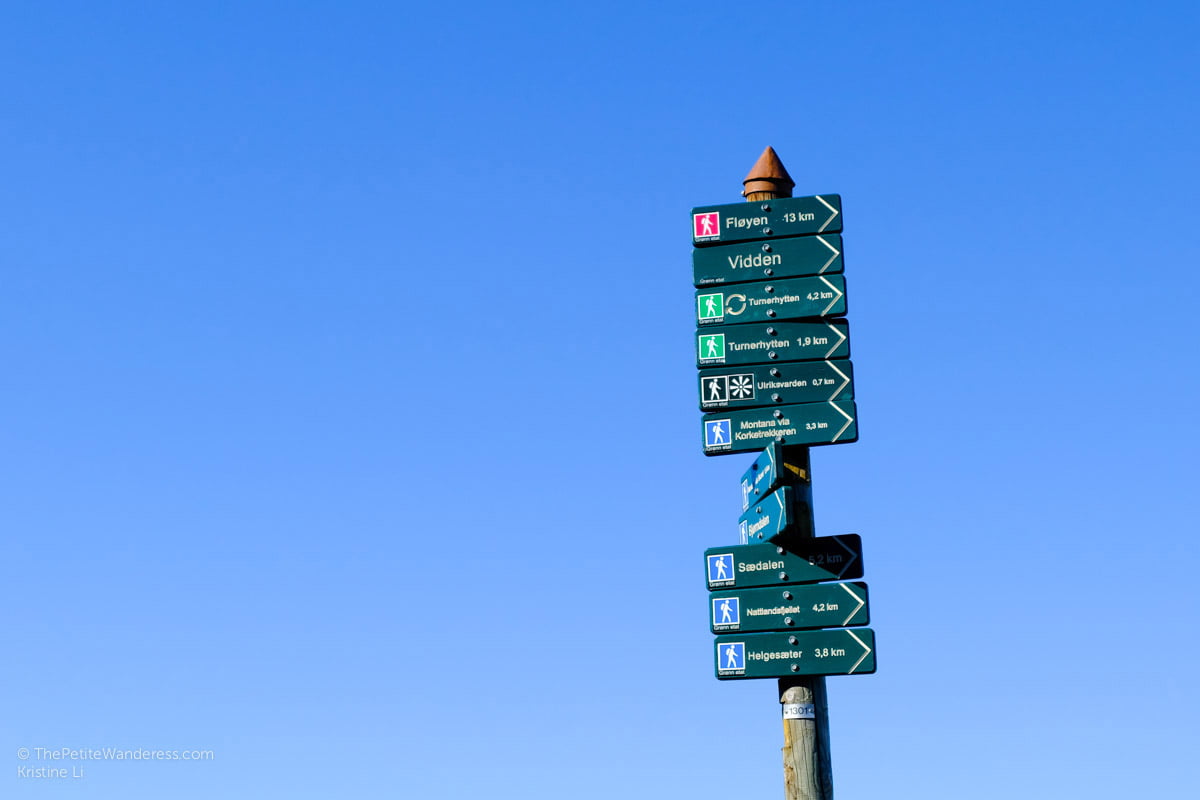
We strolled to the Tourist Information Centre near Bryggen to buy cable-car tickets. The staff told us there’s no hiking maps for Mt Ulriken, and reassured us that the trails are well-marked. He also mentioned that the green trail is the easier way down compared to the blue.
We made our way there and took the short cable-car ride up. Very soon, we were at the top of Mt Ulriken. It was gorgeous!


It was also a quiet late afternoon, with just a few people milling around, enjoying the view. The sunny weather was perfect for photos, even though the wind was strong and gave us chills. We were really impressed, elated and at peace!


After enough time admiring the views at the top, we got ready to make our way down, looking out for poles with directions, and huge rocks marked green, because we’re taking a green trail down, right?


Except we couldn’t really tell if the rocks and boulders had been marked faintly green or it was moss -.-“
And very soon, we couldn’t see more poles ahead. We were also walking further away from what looked like the way down, where people were hiking upwards and downwards.

We were lost.
To be safe, we decided to follow the trail where there were humans.

Mt Ulriken is too beautiful to believe!
How did I not see enough websites recommending it?!?


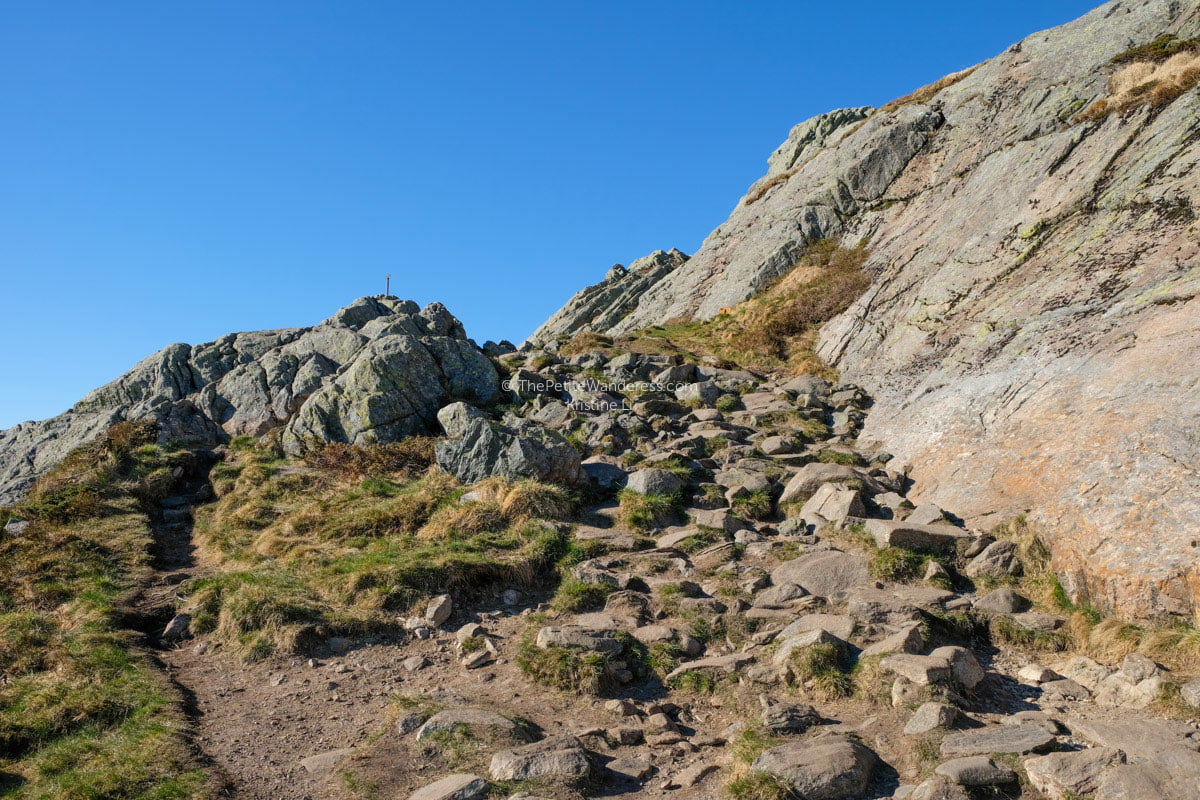
The trail was full of rocks and boulders, some rocks being loose too. You’ll have to really watch each step. At this point, my short legs weren’t doing me much help, but at least I had friends with me. Teamwork helps loads for hiking!
Sometimes, the next rock would be too big a step and I’ll squat before lowering one foot at a time, in order to not fall forward, #ShortGirlProblems. Rock by rock, I descended this way, my knees being the ones that held me upright constantly. I was glad to be healthy! (Special thanks to my friends Ali & Beng for looking out for me!)
And I really wondered how all these Norwegians around us were simply skipping downwards in their sneakers, with such ease and mobility, as if they were just walking down steps? While I was taking great care to not slip or trip or fall and risk getting my face disfigured or something. My friends were wearing hiking boots so they had it easier compared to me.
My friend Beng decided to help me with my backpack and I kept my camera away, so for most of the trail, I had no photos, only my eyes to bear witness to the beauty promised by Mt Ulriken.

Towards the end of the trail, I took my backpack back, first instinct being to unzip my bag to get my camera out. This path felt like paradise – because it’s no longer rocky!

After what felt like eternity, 3 hours since we started making our way down, we finally arrived at the bottom of the Mt Ulriken. It turned out that we had taken a blue trail, to Montana I think.
By then, my knees didn’t feel like they belonged to me anymore. They were so sore!

It was actually close to 9pm already, although it looked nowhere like it (the sun sets around 10pm in May in Norway). We took a bus back to our hotel to rest first, before deciding we’re too exhausted to head out for dinner. So we made do with snacks and cup noodles, showered and packed before we leave Bergen the next morning!
Even though Mt Ulriken was a tough one, I’ll do it all over again! The next time though, I’ll make sure to hike UP and wear the right shoes.
How to Get to Mt Ulriken:
Method 1:
You can purchase a package which includes return tickets of the Ulriken Express bus and cable-car tickets, or ala-carte. There’s a little stand beside the road somewhere in front of the Tourist Centre/fish market at the city centre. The bus will take you between the city centre & foot of Mt Ulriken. More info here.
Method 2:
Take a public bus. We took one (sorry I forgot what bus number) from the city centre and it was a short ride. (Tip: Buy ticket from the machine at bus-stop because it costs more to get it from the driver ON the bus. My ticket costs NOK 37 per ride from the machine, it would cost NOK 60 on bus.)
Get off at Haukeland Hospital N before the tunnel (marked as “Haukelandsbakken” on bus screen). Cross the road using the bridge, then walk uphill along the little road leading to Ulriken643 building. The hospital is a very modern-looking glass building.

Tips & what to know hiking Mt Ulriken
- Wear proper hiking shoes and layers of clothes that you can remove according to how hot or cold you’ll feel.
- It gets cold and very windy at the top of the mountain.
- Check the weather forecast before going or deciding on hiking. Bergen’s weather can be erratic. If the weather will be bad, skip it unless you’re fully aware of the danger. Sometimes, the cable-car closes in bad weather.
- You can purchase a combo package which includes return tickets of the Ulriken Express bus and cable-car tickets. The bus will take you between the city centre and foot of Mt Ulriken. More info here.
- There’s a little office (building is marked with a logo of Ulriken643) at the bottom of Mt Ulriken’s cable-car station where you can get tickets for the cable-car.
- If you need, bring snacks to replenish energy!
- There’s a restaurant at the top of the building, but it might not always be open.
- Take small, quick steps to reduce the pressure on the knees for going downhill.
Have you hiked a tough one overseas before? Share with me!
Visited: May 2017
Disclaimer: This blogpost contains affiliate link(s). If you make a booking/purchase through the link(s), this travel blog receives a tiny commission at NO extra costs to you. The commission helps to offset the costs I pay to maintain the website, your support is much appreciated! Full disclosure terms are available on this page.
More Norway posts!
• Hiking Pulpit Rock, Norway’s most popular hike on Instagram
• How much did 6 days in Norway cost?
• 12 photos to inspire you to go hike in Norway
Follow my footsteps on social media!
Share this on your social media & Pinterest!


